"Little Green" a second attempt at a high tech greenhouse

Author: Javier Bateman Aramendia

Created on: November 7, 2024 at 10:46

Project Status: Project Completed!

Project Goals

If you haven't read my blog post highlighting my failed attempt at starting a hydroponic greenhouse business, it will give you context on my vision for this project. 

What makes this different from my last attempt?


I've learned from my mistakes, and this time around I've come prepared.

The size of the build:
Instead of trying to maintain 120 sq meters (1291 sq feet) of greenhouse, I've decided to cut it down to 24 sq meters (258 sq feet). This has several advantages for me, the most important of which is it is simply more manageable. This is as of right now, a one man show and 24 sq meters will be far easier to stay on top of. The actual process of building this is going to be easier as well, alongside maintenance. When it comes to heating, it'll be far easier and far cheaper to heat a smaller, better insulated build.

The materials:
This time around I am sparing no expense on proper building materials. Instead of covering a massive structure in flimsy greenhouse plastic, I'll be relying on polycarbonate paneling to resist the elements that so brutally battered my old greenhouse structure. Proper cement flooring and brick structures will replace hastily laid brick-on-ground nonsense that my current greenhouse suffers. Most excitingly, my current solar setup will be vastly improved. Instead of placing them flat on top of a pergola, they will lay at a 30 degree angle on the shed roof facing the sun. This should improve my production, and make maintenance easier. 


now that I know what mistakes we are avoiding, lets look at what this project is meant to be!


This project is first and foremost meant to serve as...


  1. A maker space to build, store materials, etc
  2. A test area for my hydroponic R&D
  3. A place to wash-up and rest after pruning and harvesting my olive orchard 


What makes this project special?


After all is said and done, this greenhouse should implement the following features 

  1. Take advantage of the pruning from the acres' worth of olive grove(destined to be burned anyways as is local custom) in order to produce pellets to burn in a pellet stove to heat the greenhouse.
  2. Implement a geothermal air exchanging system that pulls in air from outside, runs it through buried piping, and filters it before refreshing the greenhouses sealed air supply in order to reduce heating/cooling needs and prevent pests (through filtering the air). 
  3. Incorporate hydroponic systems to efficiently use water and fertilizer.
  4. Use precision climate control (AC cooling, pellet stove heating, and passive geothermal heat exchanging methods).
  5. IOT to control
    • heating and cooling
    • air exchange rate
    •  lighting
    •  security
    • data collection on greenhouse environment
    • crop harvest data

What needs to get done in order to finish the building portion of this project


  1. Get planning permission: ✅
  2. Cleanup my land:
    1. cut down weeds  ✅
    2. throw out trash   
  3. Prep build site:
    1. deconstruct current greenhouse  ✅
    2. organize build materials  ✅
  4. Build the shed:
    1. pour slab  ✅
    2. stack blocks ✅
    3. paint
    4. install roofing ✅
    5. install solar ✅
    6. install water ✅
    7. install shelving and furniture ✅
  5. Build the greenhouse:
    1. layout outlining blocks to support the structure ✅
    2. construct the greenhouse kit 


Project Updates


Wrapping up the project

November 3, 2025 at 13:16
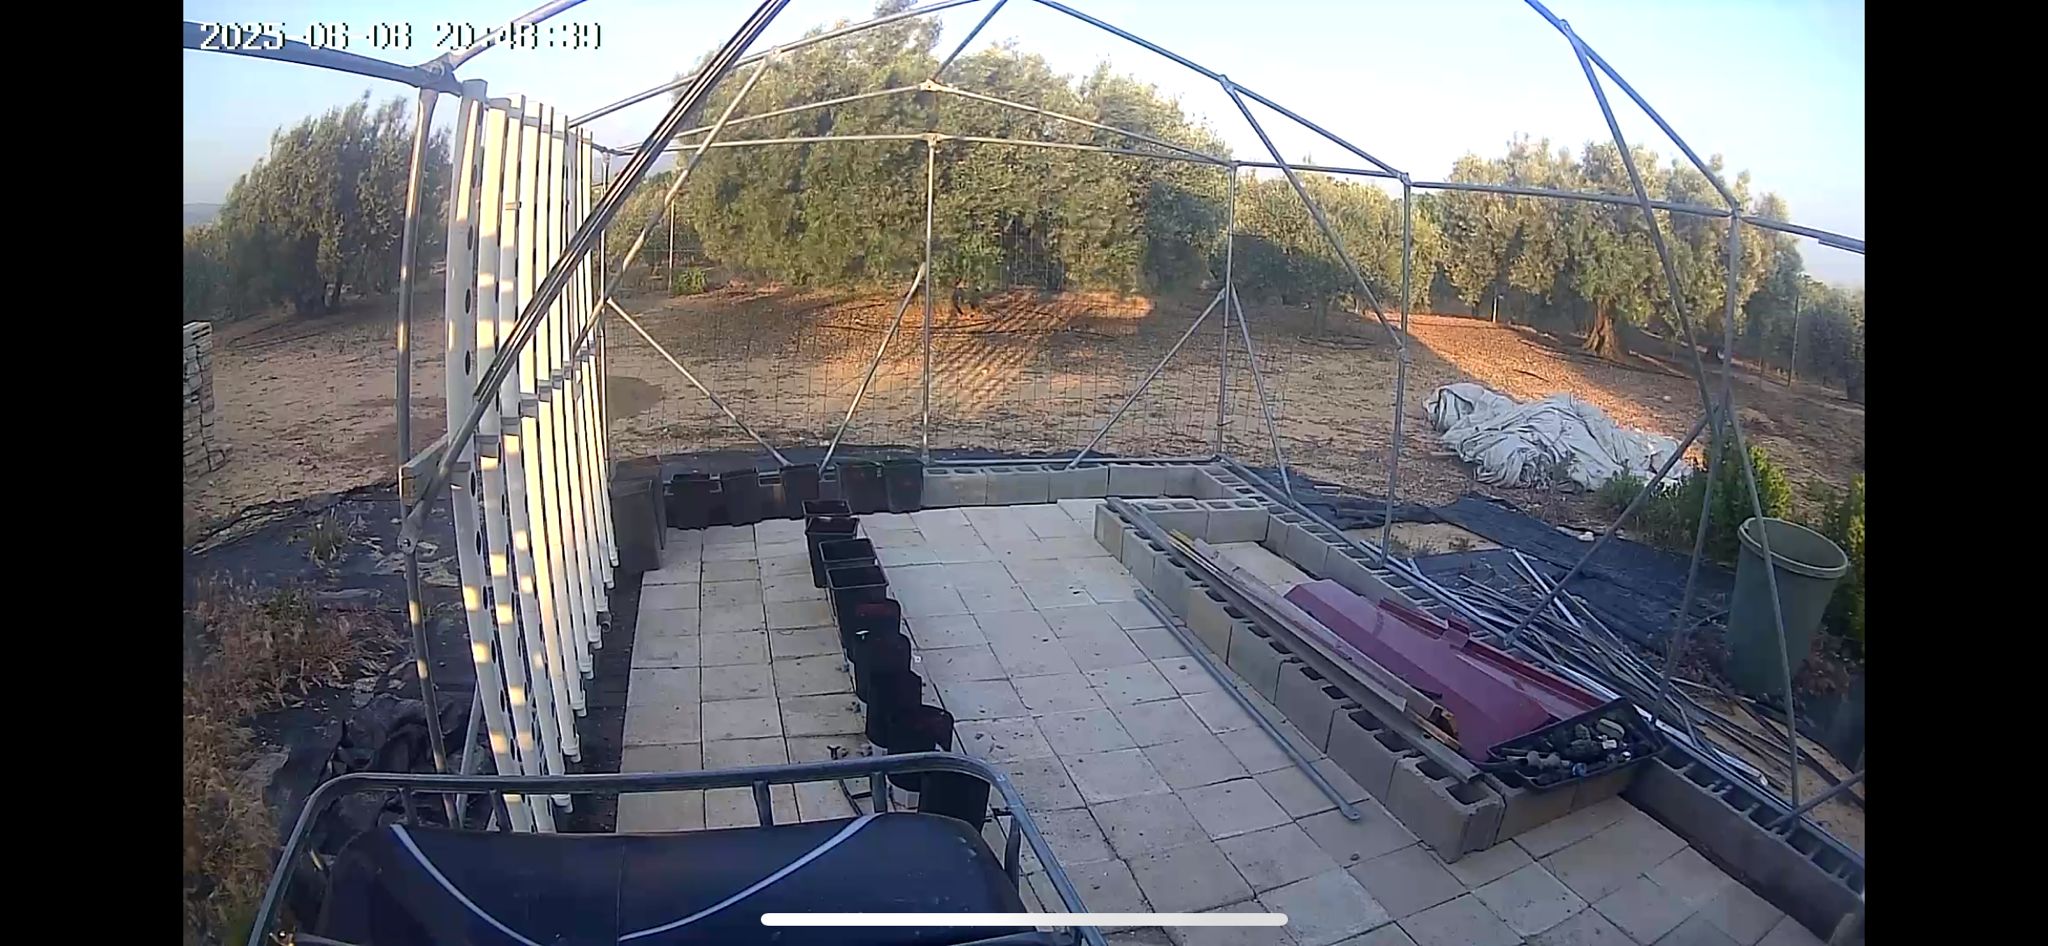
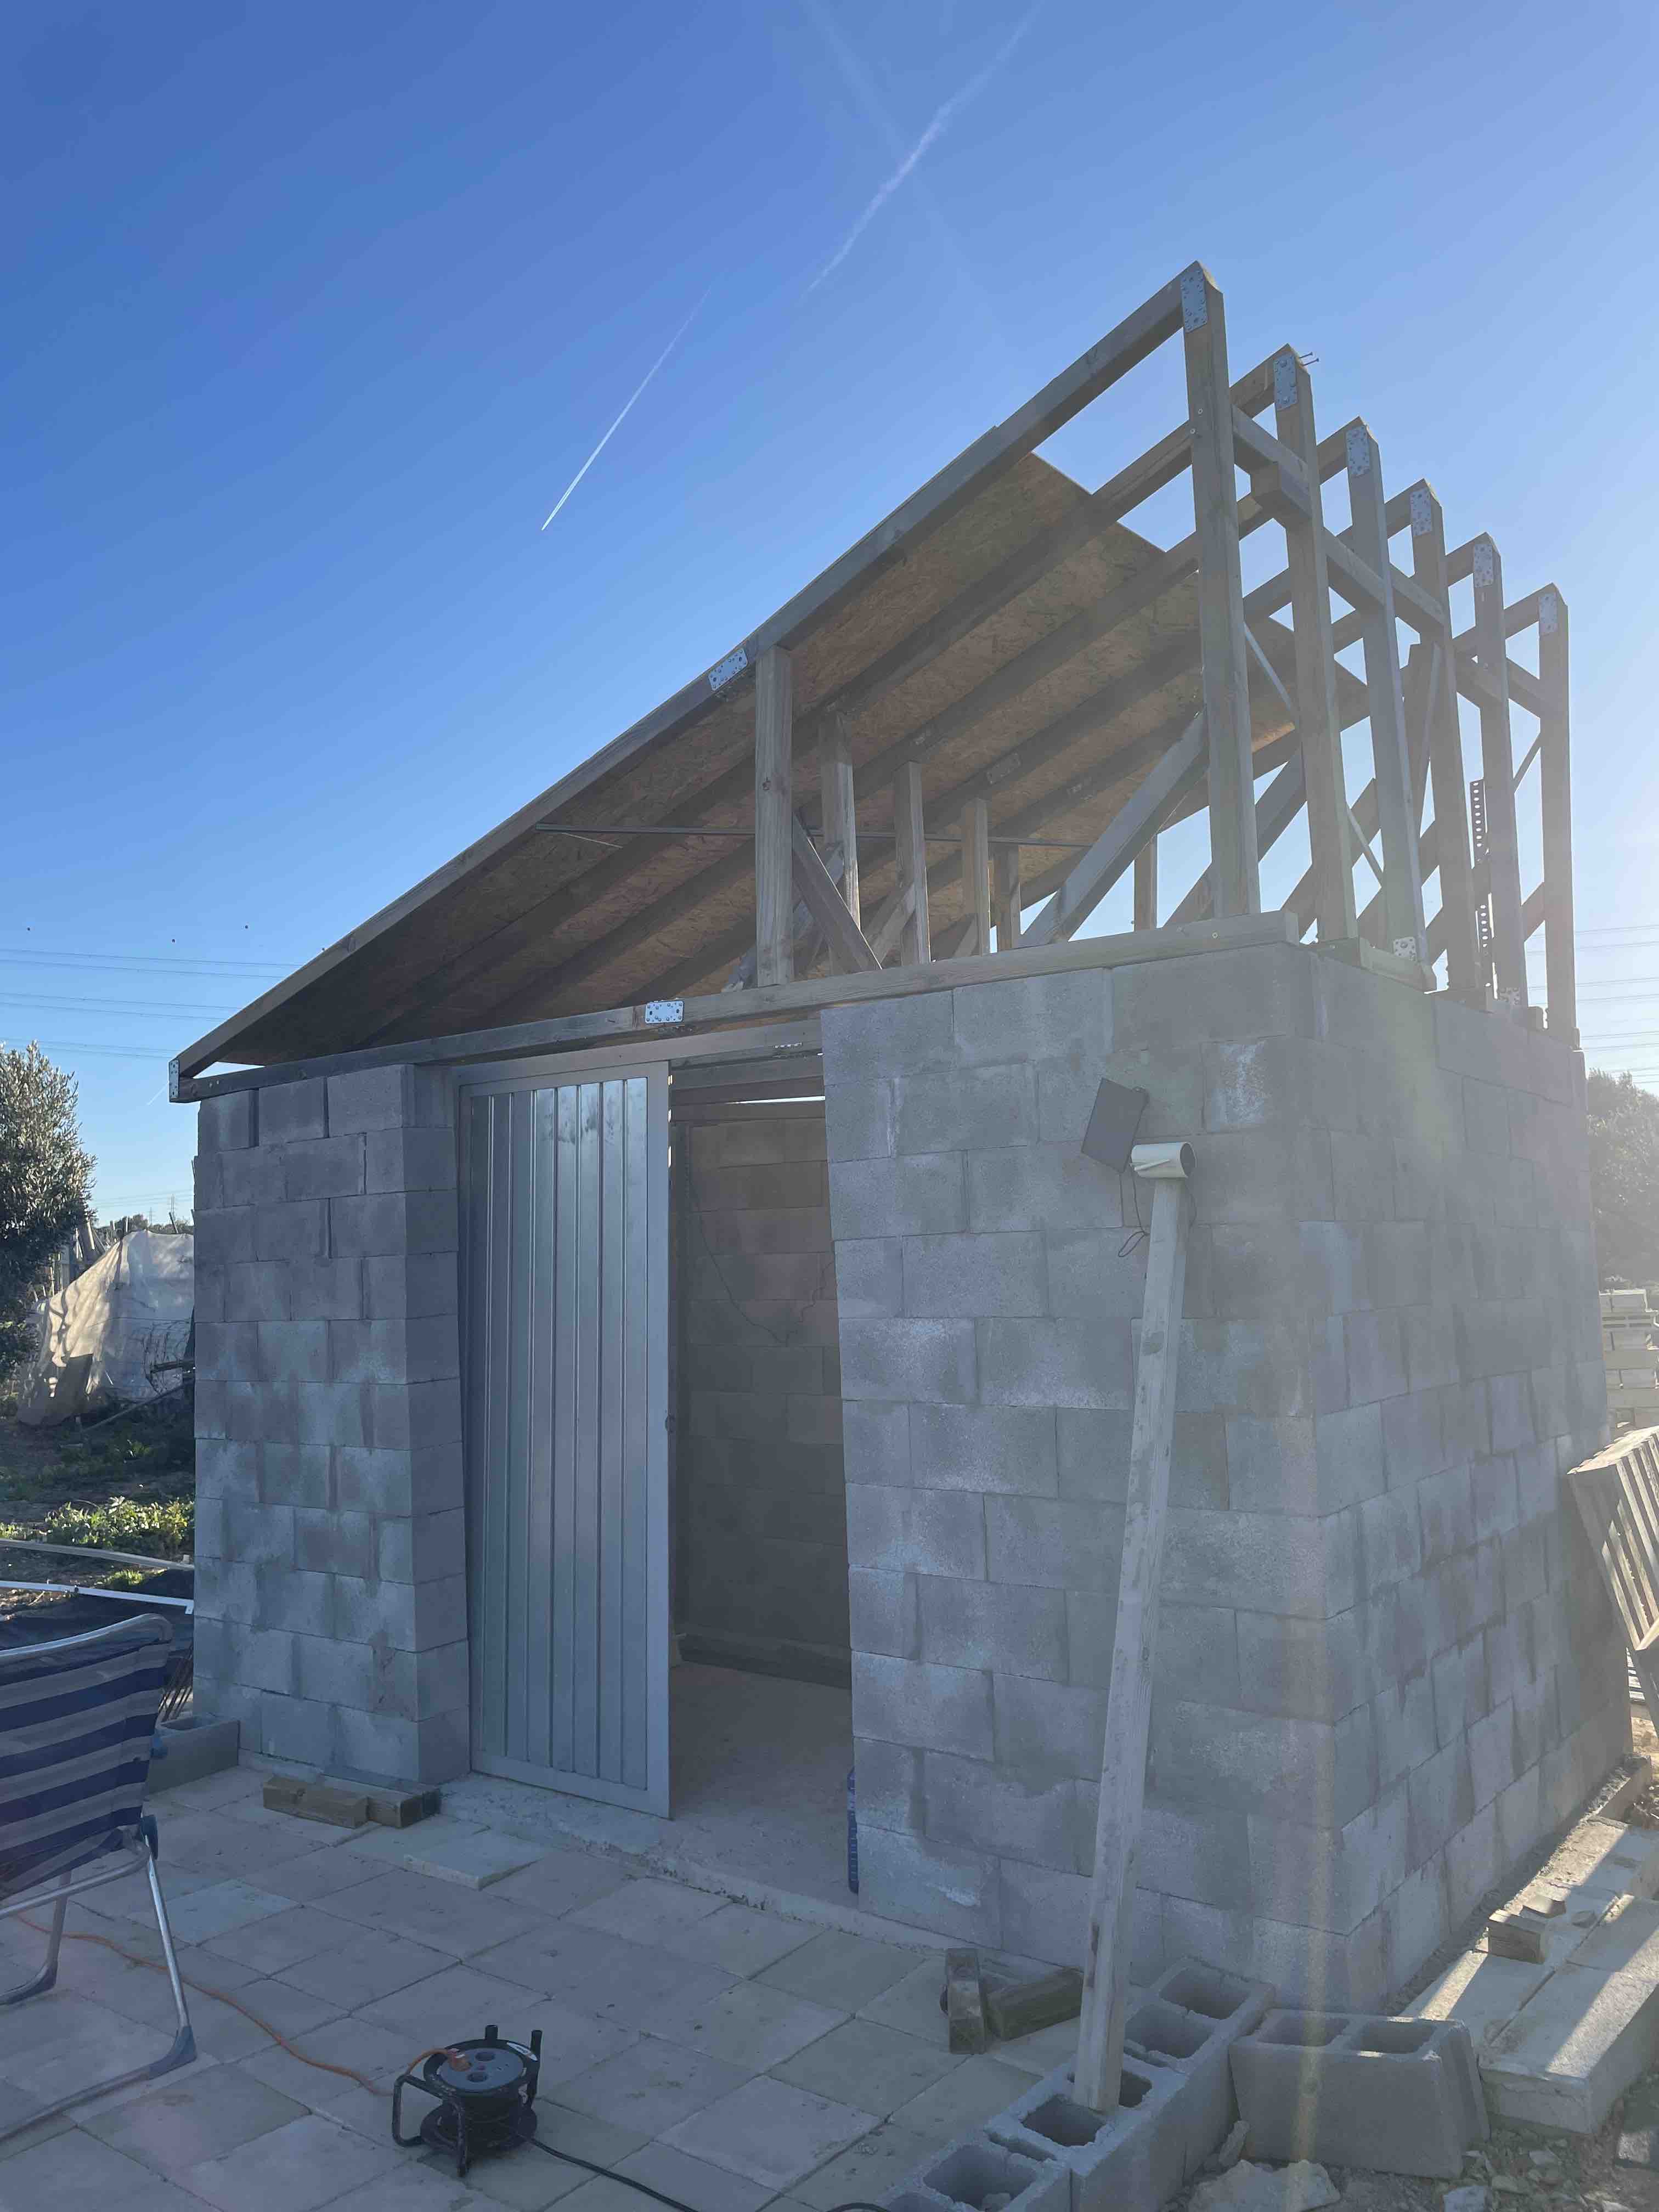
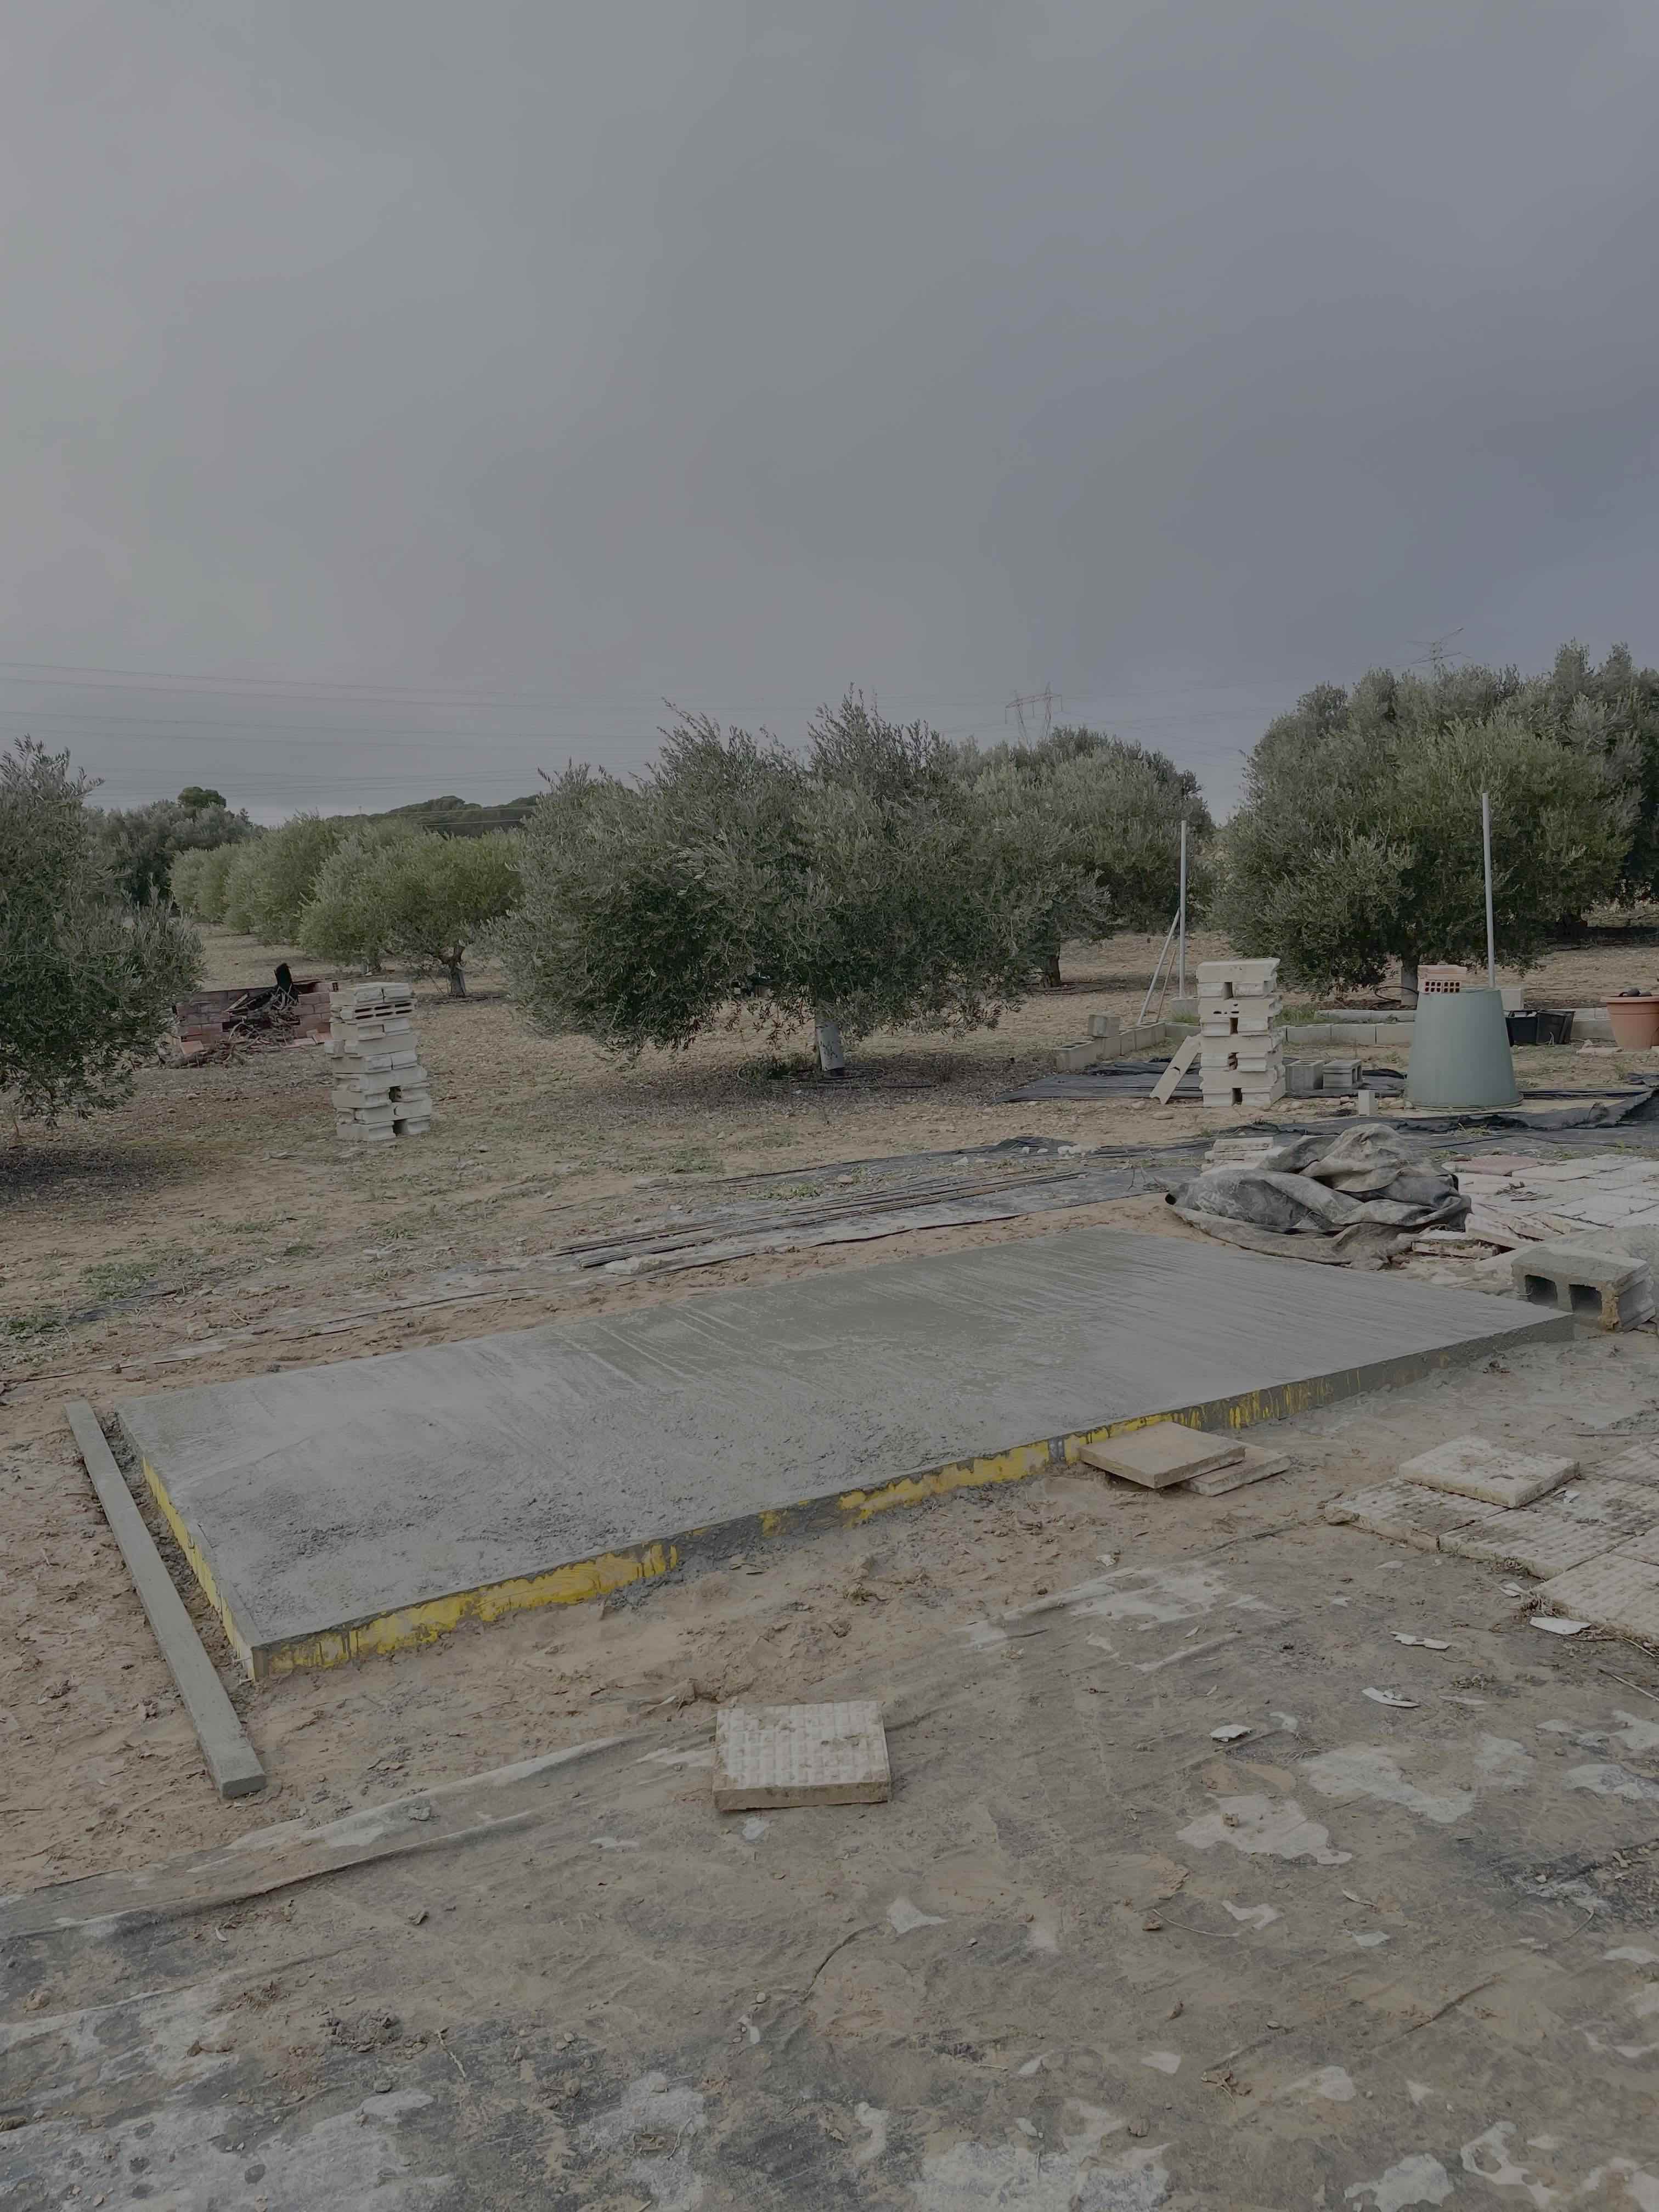
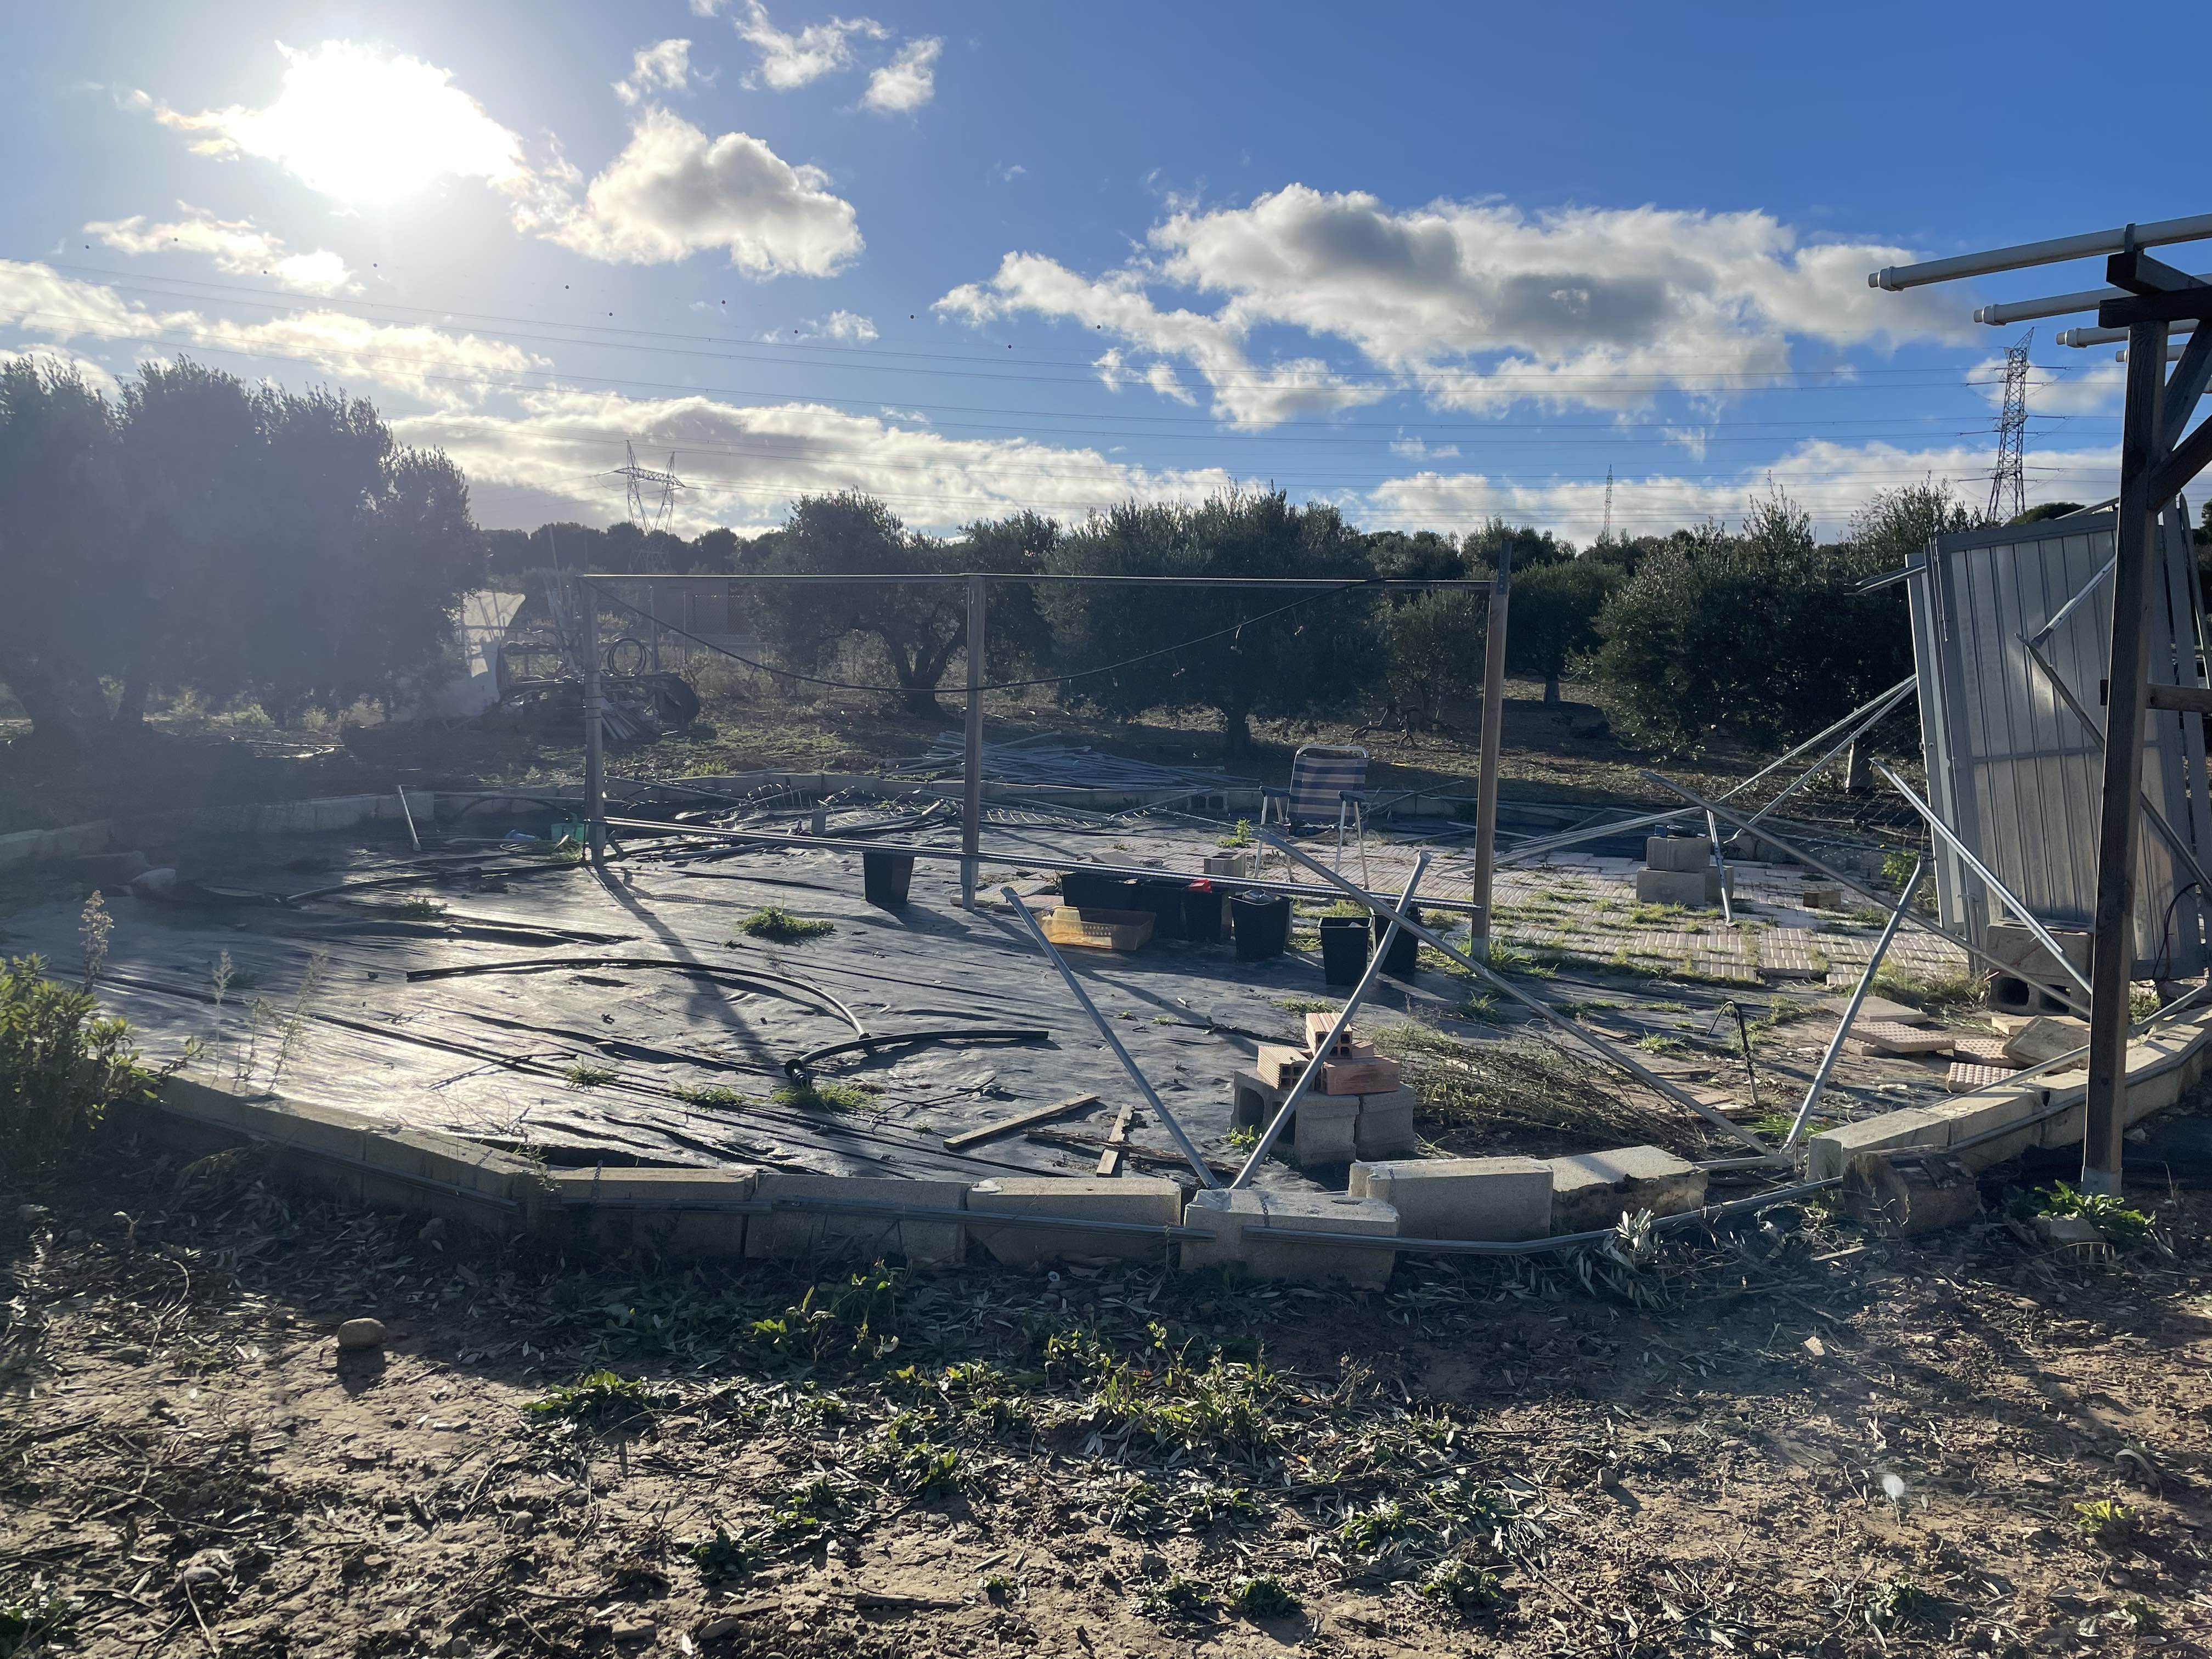
I am officially considering this project as completed. While there are 100 details I could nitpick on the property in general, the fact is that I've completed what I've set out to do. I took down the old greenhouse, cleaned up the property, and build a new greenhouse/shed combo. I've got my Home Assistant + InvernaLink combo gathering Data there already, and the hydroponic systems are coming along slowly but surely. Winter is coming, and I will have little planted in the greenhouse until Feb-March. I will post more images and updates as I make constant improvements. I imagine this project will always have more improvements to make. Thanks to everybody who helped me get this far, for all the hours volunteered by my friends in making my silly dreams come true. No love is lost here, and I couldn't have done it without all of your constant encouragement. 

99.9% done

October 5, 2025 at 16:17
Most of what we aimed to achieve by the end of September has been completed. Now it's essentially just detail work. I've started assembling the hydroponic systems and I've finished setting up the home assistant. Excitingly I learned how to connect the inverter in charge of managing my solar system to the home assistant. Now if the system starts to get low on battery I can switch off non essential devices instead of waking up to a dead system. I've also spent time leveling some patches of the land, clearing out more trash and some other much needed maintenance of the land in general. Over all I am happy with the progress, looking back at the state the land was in a year ago and comparing it to how it is now is incredible.

 In the past it felt like I was doing my best just to keep the previous structure from falling apart, and keep the plants from dying. Now every day feels like a 5% improvement that sticks around for the next day to build upon. I will take this month to perfect everything and make this project as complete. 

As things are here are my last tasks:

-Level the remaining mounds
-burn the pile of weeds
-finish detailing shed roof
-finish detailing greenhouse
-finish setting up hydroponic systems
-clean all my tools off
-install new electric breaker panel and new outdoor plugs 


On track to finish by the end of September!

September 8, 2025 at 10:50
I am excited to say we are on track to finish by the end of this month. Not only are we finishing the shed, but the entire property is getting some much needed care. Weeds have been uprooted and piled up waiting to be burned. Thanks to some much needed and always appreciated help from Trisha:
- The materials shed has been cleaned out and reorganized. 
- The old garden is about to be completely removed as it's an eyesore. 
- All the trash has been thrown out. 
- The weed suppression plastic that was old and tripped people up has been removed, leaving a clean look around the greenhouse and shed. 

Next week will be focused on installing the hydroponic systems in the greenhouse, and cleaning out the old outdoor garden space. 

The week after that will be about finalizing the shed roof to prevent any mishaps in the winter storms and snow, along with the last cement work and painting. I am confident everything will come together. 

September Deadline!

August 28, 2025 at 18:33
My resolve is to finish this project this month by any means necessary! I will be spending the next two weekends entirely devoted to the farm, arrive by 7am, out by 9pm. Thankfully the shed is lovely to sit and have lunch in.

My tasks are as follows:

On August 29th:
  1. Fix the last stubborn leak and finish burying the water line (30 min job)
  2. Finish securing the greenhouse frame to the blocks
  3. Finish securing the wiggle wire channels to the frame 
    1. Add the washers to the bottom skirt I already installed (5 -10 minute job)
    2. Add wiggle wire bars to the roof 
  4. Finish reinforcing the frame with metal wire 

On August 30th:
  1. Build and install greenhouse door
  2. Install the plastic
  3. Install the shade cloth 
    1. unroll the shade clothes and organize
    2. attach on top of plastic with second wiggle wire 
  4. Finish detailing and securing the roof

September 6th: (With help)
  1. Settup hydroponic systems
    1. DWC system
    2. NFT channels we will use as vertical 
  2. Build and install "proper" sink
  3. Finish taking apart old garden 
    1. Kill weeds
    2. Shovel good soil and fill the pots I have 
    3. take out the bricks and poles 
  4. Fix the roof trusses 

October 7th: (With help)
  1. Take down burn pit, toss or break up the old brick, and built a new one with the concrete blocks I have piled up
  2. Finish building shower/bathroom area 
  3. Paint shed 
  4. Put up fence poles I have leftover 
  5. Organize the Materials shed properly 


Hopefully I can get this crossed off my list and starts enjoying the greenhouse! 


Push to the finish line

June 22, 2025 at 19:49
Summer has rolled in and i'm close to finishing the greenhouse and shed. The shed needs some finishing touches with the roof, shelving, and a coat of paint on the walls. 

The greenhouse is still a bit wobbly for my liking in regards to the end farthest from the shed. Undoubtedly it needs reinforcing but i'm still unsure how to do it. The water has been installed, but theres still an odd leak. The Outdoor shower and bathroom have been framed up but are nowhere near done.

 The SmartSoak System has been installed and seems to be holding up to the 30-35 degree C heatwave we are currently suffering. 

I still need to setup the WiggleWire system that will hold the shade cloth in place. I also need to bury the water line, fix the fence, clear the weeds and generally clean the property, install the polycarbonate paneling........ 

All in all there's tons to be done on the property in general. At my current snail pace I'll be lucky to get it finished by the end of the year. Hopefully I can convince some friends to help me do a sprint to the finish line as a group over a weekend. No man is an island. 

Progress on the irrigation system and general maintenance.

June 8, 2025 at 22:18
Today I re-fit the irrigation line to make it to the greenhouse. The water line goes to a poorly built sink, a garden hose, and to a shower area I built out of spare pallets. The pallets are simply "structural" as they will be covered with metal sheeting to prevent them from rotting as well as adding privacy. I got the IBC tote filled, and watered some plants I've planted. I adde some irrigation lines but ran into trouble as I didn't have the right type or amount of adapters and plumbing materials so I'll come back next weekend with everything I need to do the job properly. It's finally starting to feel real to me, having access to a hose means I can hose off dirty tools, tanks, floors etc etc. Having plants start to germinate in the greenhouse makes all the time and effort i've spent worth it. I've consolidated all the garbage into one spot close to the entrance ready to take to a dump site. When all is said and done I am excited to have the plot cleaned up. 
Progress on the irrigation system and general maintenance.

Greenhouse in progress

May 25, 2025 at 14:09
I haven't had a lot of time to spend on the farm since the last update. However there have been a few exciting (for me at least) changes.

First, i've setup shelving and hooks for everything I store in the shed, and i've moved the old metal sheds to sit against the back wall on the outside of my new shed. At long last my poor tools are off the ground and away from the elements. The next step will be to clean them off when I have time, sharpen the dull tools and polish what I can.

Second, the greenhouse is on its way up! The structure is still a bit floppy, but tomorrow I will reinforce it the only way I know how...by forming triangles! I am happy to say I managed to recycle the old metal bars from my previous greenhouse, which saved me a few hundred euros and allowed me to reuse materials I already had. I am excited to see this all come together! I can already tell this is going to be a relaxing place to hang out at.

Also, i've found a place that rents out machinery that will help me lay the geothermal piping, which is exciting. In regards to better managing my electrical system, I am excited to learn how to connect my solar inverter to the HomeAssistant server I run now as part of my "RainCloud" project on the farm. 

I'll be posting more updates soon! 

I have the power!

April 17, 2025 at 15:13
Making progress! over the last two days have

  • Installed the solar panels on the roof
  • Installed the electrical system (batteries, inverter, plugs, etc) 
  • Emptied out the old "tin can" sheds, thrown away the junk, and moved everything to the new shed
  • bought the remaining materials needed to finish 
  • Added 90% of the side paneling for the roofing
  • Emptied my car out which was embarrassingly serving as storage for all my electric tools

Now all I need to do to finish up the shed portion of the project is to 

  • Add a layer of mortar to the exterior 
  • paint the walls
  • add weatherproofing to the corners of the roof
  • add the last missing corner of the side walls on the roof


I have the power!

Almost there!

April 1, 2025 at 20:44
What a long day! I got the rest of the OSB installed, and I managed to get the top of the roof sheathed. I'm happy with how the top of the roof came out but the sides still need to be finished and I'm nervous about how it'll turn out. I've been working the roof for the last two days and tomorrow (Wednesday) the weather is going to do its best to destroy what I've built. Gale winds and non stop rain mean I need to get the rest of the roofing installed and FAST. Fingers crossed, wish me luck in my race against the weather! 
Almost there!

Roof OSB installation

March 31, 2025 at 20:46
After shaving off some excess to keep the roof frame flush, I got to work adding the the OSB panels to the roof. I've been a bit under the weather, and it's the first time I do any sort of roofing, but by  the end of it I was feeling confident about the stability of the roof. Prior to adding the OSB the frame already felt solid, but adding the OSB was the cherry on top. 

The sun was beating down today after a few weeks of endless rain and wind. As a result the roofing created a shade that was greatly appreciated. Over all I expect that in the heat of the summer my tools and anything else I store in the shed will stay a decent temperature once i've added the underground ventilation and spray insulation. 

I have tomorrow to finish getting the roof on because after tomorrow  I expect gusts up to 71 kph  and more rain. This will be the test of whether or not the roof will stand. 
Roof OSB installation

Greenhouse Floor installation, and restructured ends trusses

March 16, 2025 at 19:07
With a massive hand from my friend Trisha, today I was able to get the greenhouse floor installed, take down the end trusses off of the roof, and reinforce them. Could not have done it without her and I needed to see some progress happen as the project has felt a bit stalled as of late. At almost 4m X 6m, the layout feels open and there should be plenty of room for all my hydroponic systems. The flooring is a layer of anti weed mesh, then a layer of pavers. In the future I could add some sand to level out the pavers, and even add some artificial grass flooring in the center in order to make the greenhouse more pleasant to be in. The roof trusses needed to be taken down in order to reseat them flush with the walls. This should help me reinforce the structure in general. With any luck, if the wind and rain gives way to sunshine and calm, I can get the roof sheathed and covered next Sunday. Still no price negotiated with the welders for this greenhouse structure... the outlook for the greenhouse is looking bleak but there are a few tricks up my sleeve as of yet. check in soon for more updates!
Greenhouse Floor installation, and restructured ends trusses

Walls and door are installed

January 19, 2025 at 12:39
Thanks to some much needed help from my cousins David and Dani we were able to install the shed door (no small feat) and finish mortaring in the last blocks that make up the wall. The door is solid metal and so heavy I can't move it without a helping hand, so having some extra hands was a godsend. The next step is to install the roof, so I can finally start using the shed. 
Walls and door are installed

Walls are coming up!

January 7, 2025 at 09:57
The walls are coming up and are now officially taller than I am! Standing inside, even though there's still so much left to do, I can’t help but imagine the polished final state.

The technical design is as follows: I’ve decided to use a dry stacking method since I’m not too confident with mortaring. The plan is to stack the blocks on the level concrete base, apply mortar over the surface of the blocks, and fill every other hollow column with rebar and cement to ensure stability.

The weather conditions have been far from ideal. Intermittent, biting rain and cold have turned the farm into a near-permanent mire. The heavy clay soil causes water to pool almost instantly. Despite these challenges, I’ve managed to set up three pallets of blocks over two mornings.

I’ll be too busy to make more progress this week, but I’m hoping to finish putting up the walls on Sunday and Monday, January 12–13. The next step after that will be to install a roof over the structure.

Walls are coming up!

Slab has been poured.

December 26, 2024 at 13:58
At last the foundation of the shed has been poured. There were hiccups at pretty much every point of this process. The material delivery didn't arrive on the scheduled day, and communication on the suppliers end was piss poor which lost me an entire days work. The next day when the delivery arrived we barely got the materials over the property fence, but thanks to some expert crane maneuvering by the driver and some mid-air adjustments on my end we got it unloaded 10-15 meters from the job site. After that I tried to get the form work ready to pour the next day, however my 2 amp battery was not enough for wood this thick which meant I had to drive all the way to the depo to buy a better battery (my fault, though to be fair I've been using a 2 amp battery on this tool for ages with no issue). The next day I got the form work done and started mixing by hand (and mixing dril), however with 87 bags (about a pallet and a half) there was just no way my cousin and I were going to be able to finish, so we segregated it to one section (the part of the slab that looks grainy) and left the rest for the next day. The day after that I borrowed a proper concrete mixer from my neighbor and got to work alone. In 4-5 hours I knocked out 65 bags despite a bit of "chiri-miri" (what we call light rain here) and lots of clay mud. I'll be leaving the cement to dry for three weeks before starting on the walls. 
Slab has been poured.

The Dome Disassembled!

December 16, 2024 at 07:57
Oof, a big milestone. I was nervous about disassembling the dome because of its size. I took Saturday to remove everything from the structure, and Sunday to take it down. When I initially assembled this structure I hired a crane to hold the top of the structure up and recruited my dad to help me connect the bolts. This time around I'm SOL and can't get a crane back onto the property without risking more damage to my trees. With no other options, and many reason to live, I decided to disassemble from the bottom up instead of my initial idea of disassembling from the top down... and I was right to do so! instead of getting on a ladder, supporting myself on a structure that would get weaker and weaker as I progressed. I just started unbolting connection points from the bottom knowing that the only direction a dome can collapse in is inwards. The structure fell little by little in a controlled fashion, and I could safely take each bar apart. Honestly the whole process felt more like some great noble beast kneeling down to me than the dramatic collapse or demolition of a building. 

 I felt a little nostalgic about the whole thing. I remember all the help I've had, the time and money I spent trying to make it work, but it's time to move on to smaller, better things.

The Dome Disassembled!

Planning Permissions Acquired!

November 30, 2024 at 14:57
At long last we got the planning permissions in order! It's been four months since I submitted the initial round of paperwork to my local gov, and I've only now been given permission to build. Personally the whole process of getting planning permissions from the local gov is worthy of a blog post in itself... what a hassle!  Now its time to deconstruct the old greenhouse before I can get to building the new one.